Web-Based Patient Information System User’s Manual
- Accounts and Login
The Web-Based Patient Information System has default admin account with the username: admin and password: password. These account are used to manage the system, you modify its details or create another account as you like.
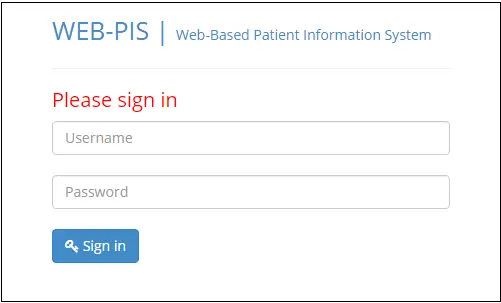
Provide the admin account to the login page and click the sign in button to login.
- Dashboard
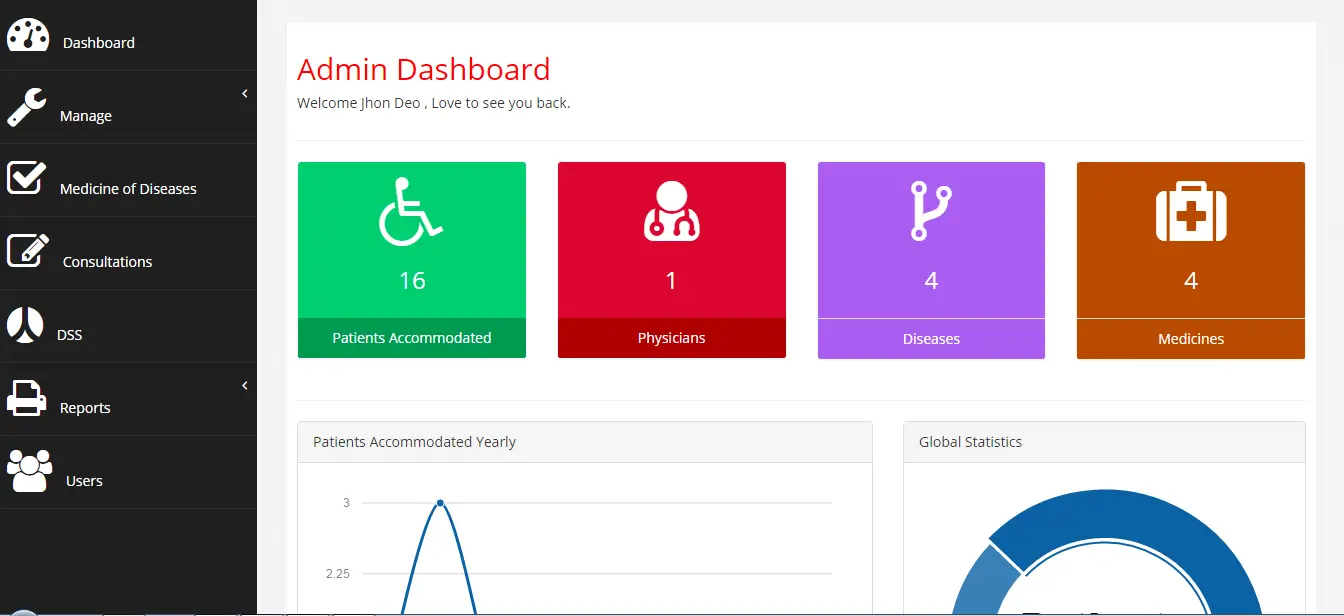
The dashboard contains everything you need to manage the system. All basic information are provided to give brief overview of the system itself.
- Add Patient information
To add patient information, navigate to Manage Menu and click on Patients.

On the patient, menu click on add button to add patients
In the list of patients table, you can also edit or delete patient information.
- Adding Physicians
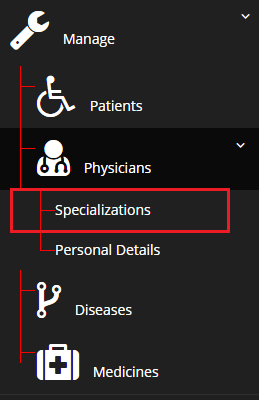
Before you can add Physicians, you 1st define specialization for each physician. To add specialization, Go to Manage Menu and click on Physicians->Specialization.
On the manage specialization area, click on Add button and provide the details on the pop-up. After which, click on the save button to add the specialization.
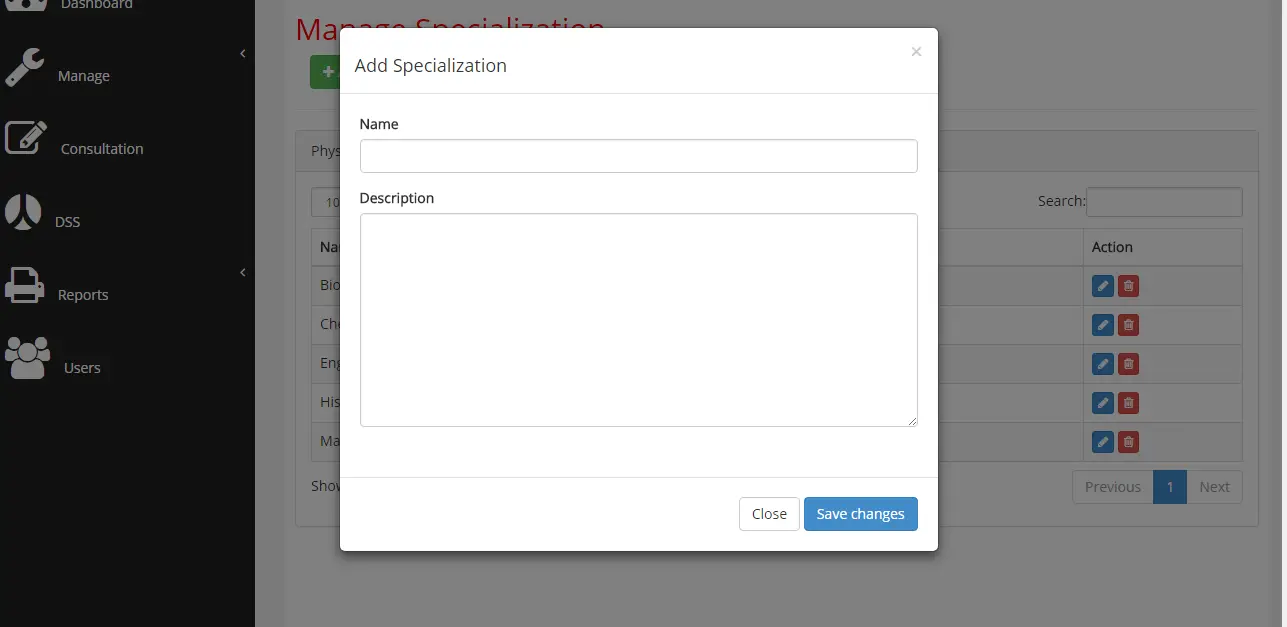
You may also edit or delete specialization from the list.
To add physician, go to Manage->Physicians->Personal Details.

Click the Add button, and provide the details in the pop-up. In the specialization area, select the specialization you have added from the list and click Save Changes. You can also edit or delete Physicians record in the Physician table.
- Adding Disease Records
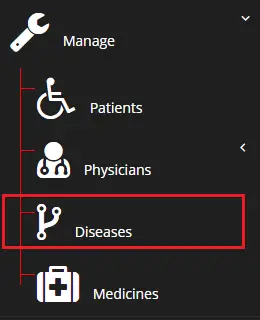
To add disease records, navigate to the menu, click on Manage->Diseases
On the same corner at the right, click on the Add button to add Diseases. Provide disease details in the pop-up and click save settings. Delete and Edit are also provided in the disease table.
- Adding Medicines
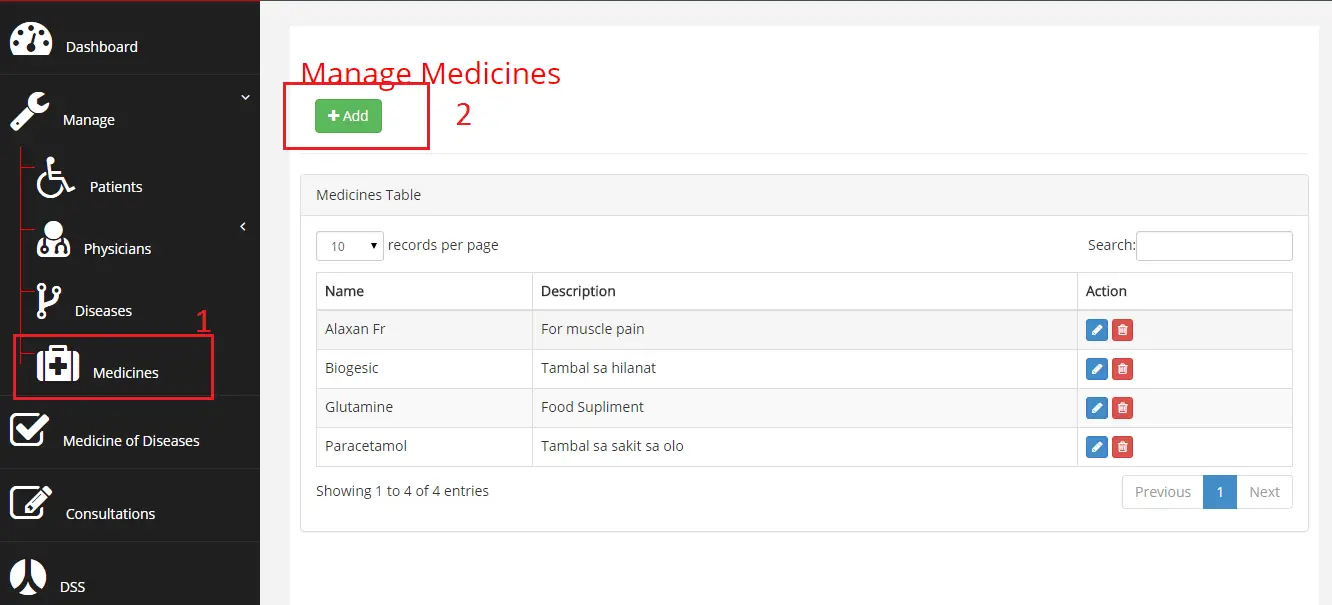
Users can add medicine my navigating to Manage->Medicines. Note that you can add all the available medicines in your office to easily access them in the patient’s consultation.
- Medicine of Disease
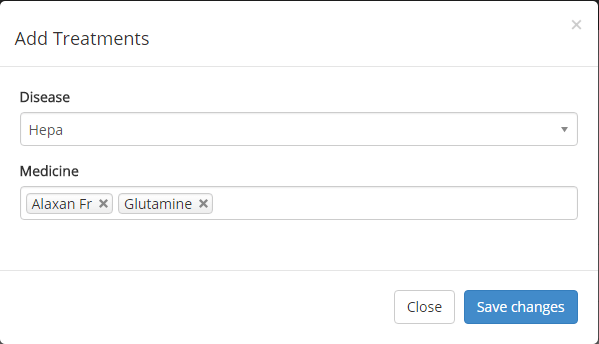
The medicine of disease can be access through main menu, Medicine of Diseases Button. In this area, you can add the corresponding medicines for each diseases. You can add as many medicines for each disease as prescribed by the physicians.
To add medicine of diseases, click on Add button and provide the details in the pop-op. You can select multiple medicines at once in the medicine area.
- Consultation
The consultation menu includes all records of patient’s consultation. You can use this to add patients in the consultation database to easily retrieve their information and manage decision supports.
To add consultation, Click Consultation in the main menu and click the Add button.
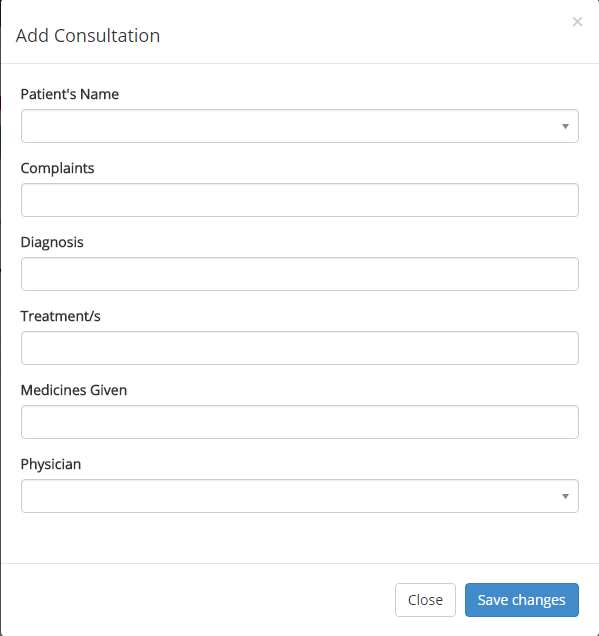
Provide the patients consultation in the Pop-up. In the complaints area, provide the complaints of the patient during consultation (ex. Back pain, etc). In the Diagnosis area, provide the diagnosis or findings of the physicians based on the complaints given by the patients. In the treatment area, provide the suggested treatments by the physician to cure the disease (ex. Two glass of water a day, rest of month, etc). In the Medicine Given, select the 1 or more medicines you have given to the patients based to the prescribed medicines of the physician. In the physician area, select the Physician who accommodated the patient and click save changes to save record.
- DSS (Decision Support System)
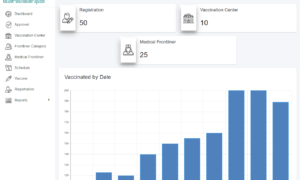
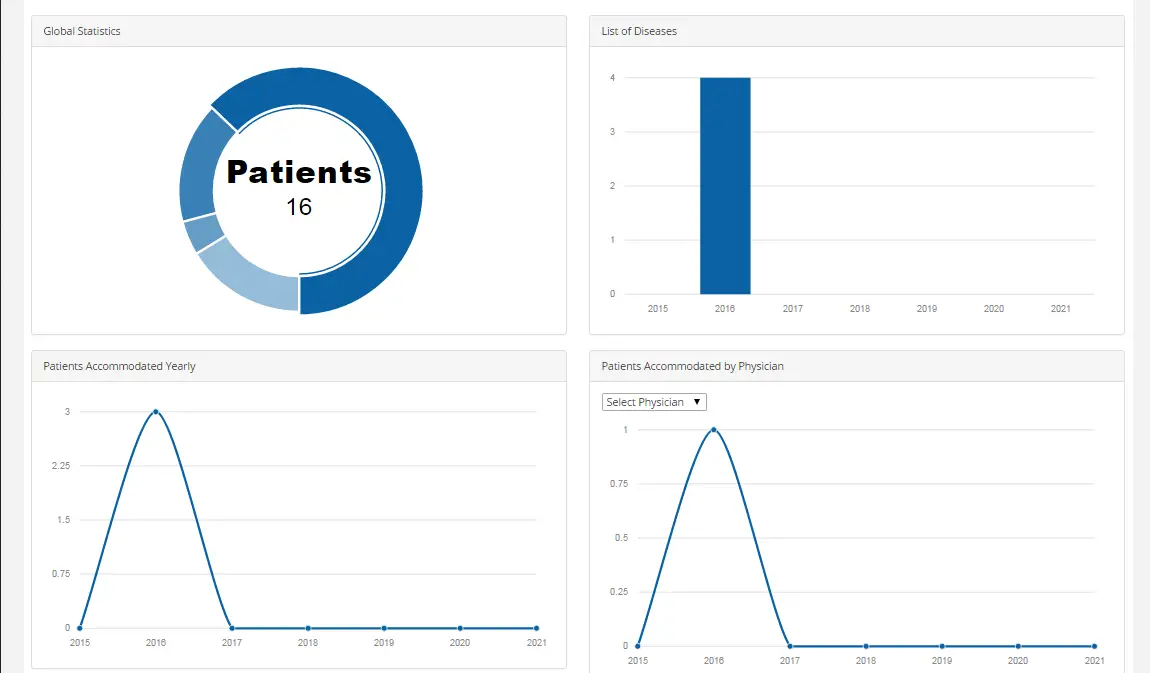
The dss area provides graphical representation and analysis of data that may help physician to analyze diseases and or support decision making. This can be accessed by navigating to DSS menu.
Reports provides interface to users that allows them to generate and print reports, this can be accessed in the main menu, reports and select the type of reports you want to generate.
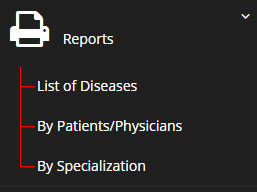
After generating the reports, click on the print button and select the desired printer to print the report.
- Adding Users
The user area can be accessed by navigating to main menu, Users. This area provides interface to allow users to add another users to manage the system.
To add users, click on the Add button, and add user details in the pop-up (ex. Username and password). You can also edit or delete users as you like. Note: password are encrypted and stored in the database for security purposes.