TOR Management System Manual
- When you start the system, you will be prompted to enter your username and password through the login screen. Please enter the correct credentials.
Refer to the screenshot below.
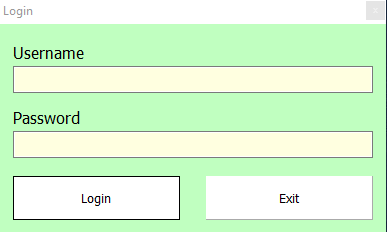
After providing the correct information, press the login button to login to the system.
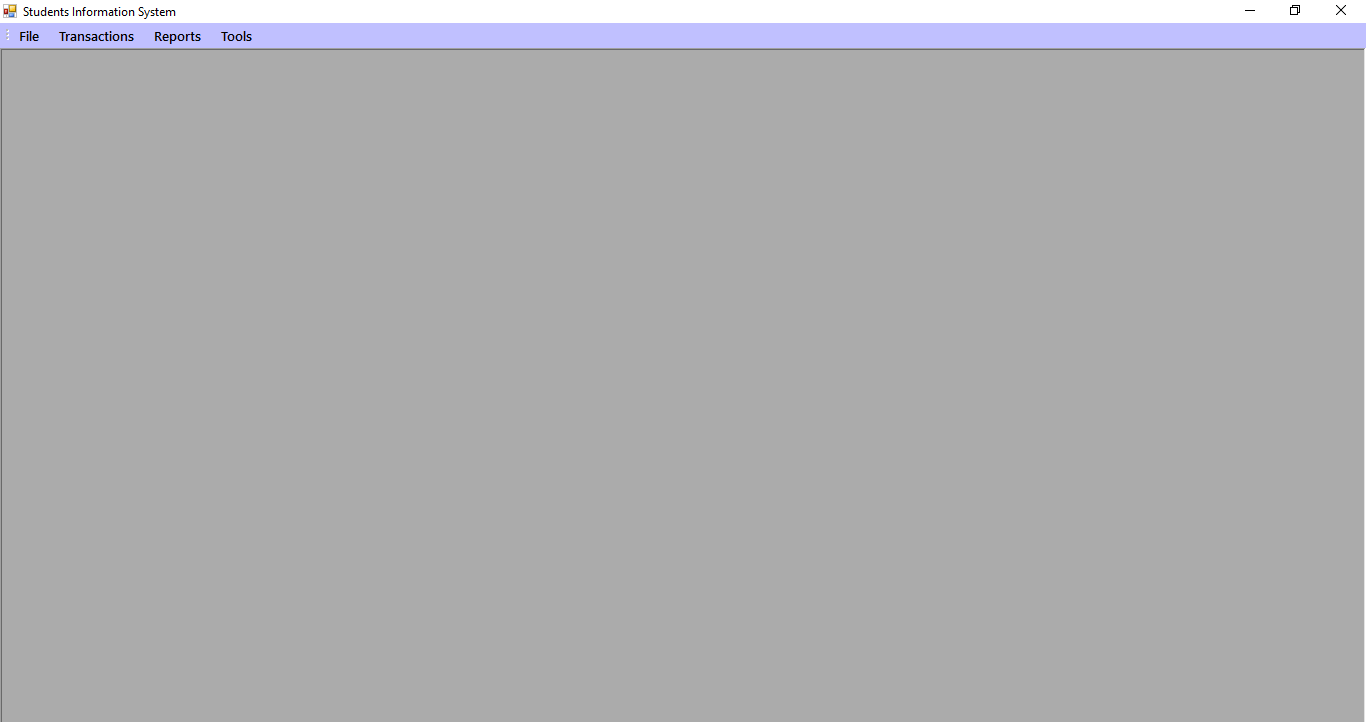
After you login, you will be redirected to the main screen which contains all the navigation all throughout the system.
Refer to the image below.
- Adding Users
To add users who will be using the system, in the main screen, navigate to File->Users and the manage user form will popup.
Refer to the image below.
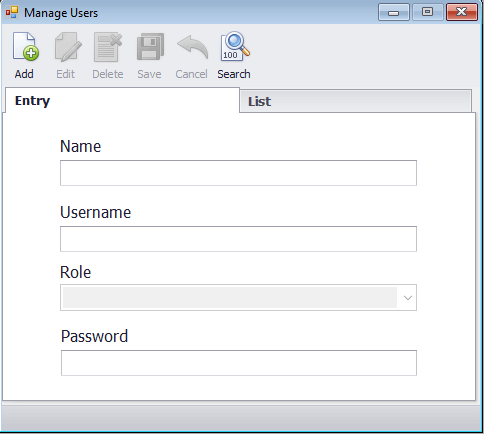
In the Manage User form, enter the information of the user you want to add.
Please refer to the menu above for appropriate action.
To add record, press the add button, to edit, navigate to List tab and click the item to edit and press the edit button. To delete, navigate to List tab, select the item to delete and press delete button. To save, press the save button after inputting all the records you want to add. Press cancel button to cancel all the actions you take and press the search button to search for existing record.
The above menu is pretty much similar to all other forms of the system. Please refer to the following shortcuts for quick navigation.
Add (F2), Edit (F3), Delete (F4), Cancel (F6), Save (F9), Search (CTRL+F)
Note: Please choose the appropriate role for each user you add as this will define the restrictions of the user in the system.
- Adding Period/School Year
To add periods, navigate to homescreen->file->general->periods and the manage period window will popup similar to the image below.
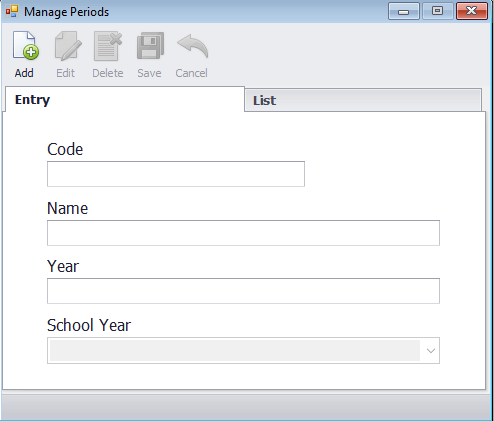
Enter the required information and press the Save (F9) button to save. Press the List tab to see the list of available users.
- Adding Students
To add students, navigate to homescreen->file->students and the Manage Student window will popup.
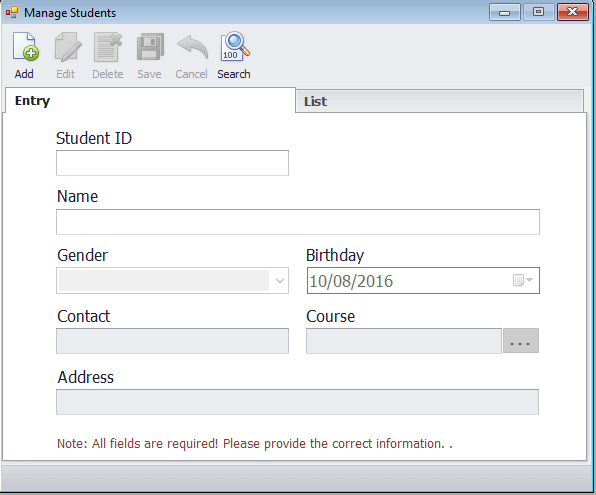
Click the Add (F2) button to add records and fill up the required fields. After inputting all the information, click on the Save (F9) button to save.
You may click on the List Tab to verify that the user is added to the list.
- Add Courses
To add a course, navigate to homescreen->file->offerings->course and the course window will popup.
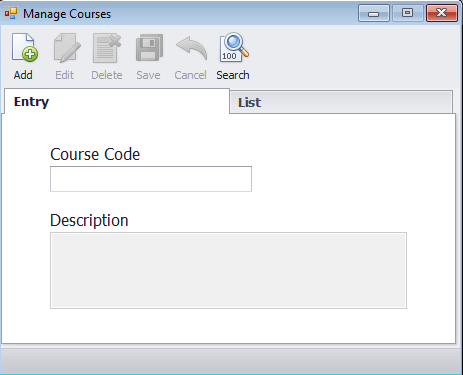
Enter the required information and press the save button to save the course.
Note: Please refer to the previous instruction on how add, edit, delete, save, cancel and search a record.
- Adding Instructors
To add Instructors, navigate to homescreen->file->offerings->instructors and the manage instructor window will open.
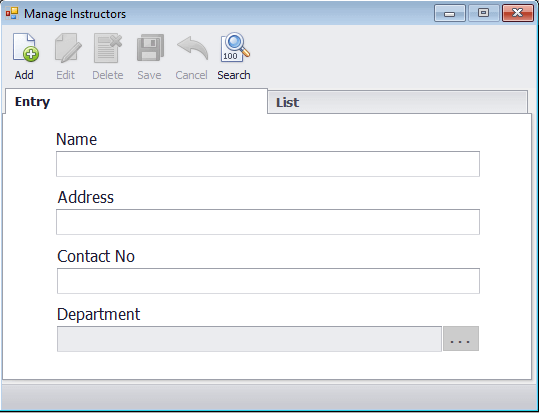
Enter the required information of the instructor and press Save (F9) button to save the record. You can also edit, delete instructors as stated in the previous instructions.
- Adding Subjects
To add subjects, navigate to homescreen->file->offerings->Subjects and the manage subject window will open.
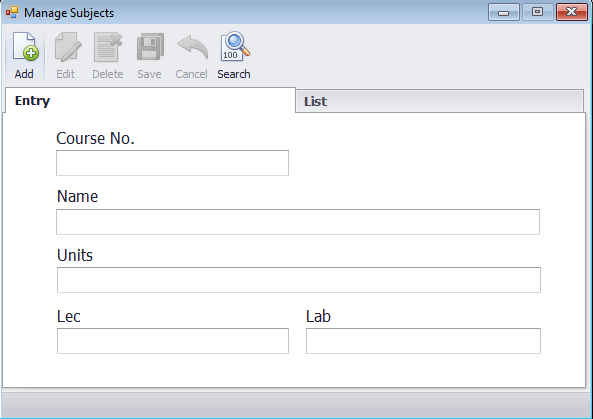
Add the required information and press save to add the record.
- Adding Sections
To add sections, navigate to homescreen->file->offerings->section and the manage section window will open.
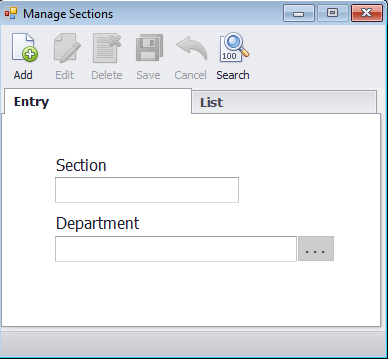
Enter the section name and the concerned department then save to add the record.
- Scheduling
Scheduling is done before enrolling the subject of the students.
To add schedules of a particular section, navigate to homescreen->file->offerings->scheduling->classes the scheduling window will open.
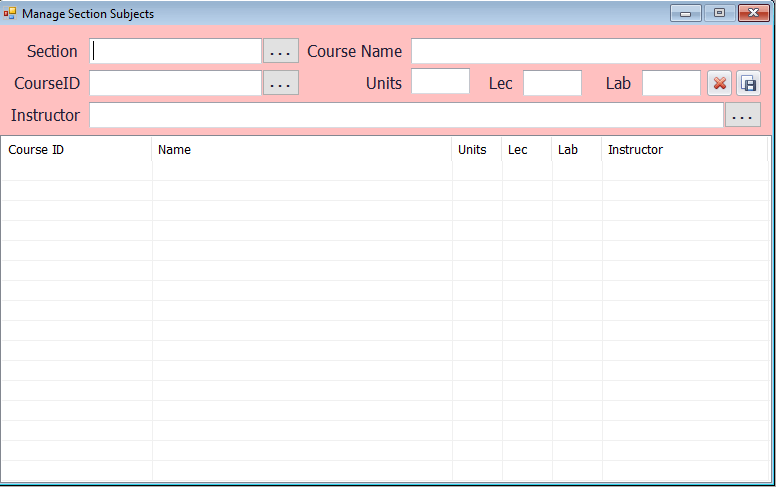
To start the scheduling, select the concerned Section, Select the subject (CourseID) you want to add. The units, lecture and lab will automatically filled up with the data of the selected course. Select the instructor of that particular course and hit the save button to add the course.
You will then see the list of subjects added to that particular section you choose. You can delete the subject/course if you want by clicking the delete button.
- Adding Subjects to Student/Enrollment
To add subjects to particular student, navigate to homescreen->transactions->student subjects and the Manage student subject form will open.
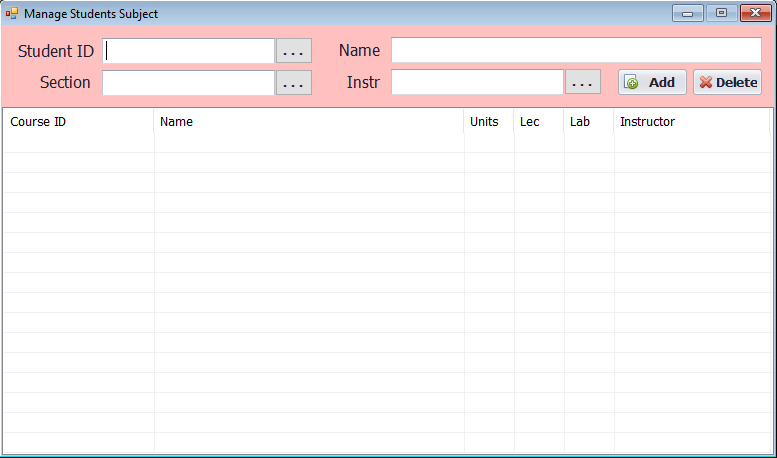
Select the student you want to enroll and select the section. After choosing the section, the subjects that you have set on scheduling will automatically be added to the student. You can choose to Add or Delete subjects incase student is irregular.
- Adding and Dropping Subjects
You can only enroll a student once in a semester/period. So if you have done something wrong in the Enrollment in which subjects are not properly loaded, you can use Adding and Dropping feature to delete and add subjects to the students.
To add and drop subjects, navigate to homescreen->transactions->adding and dropping and the adding and dropping window will open.
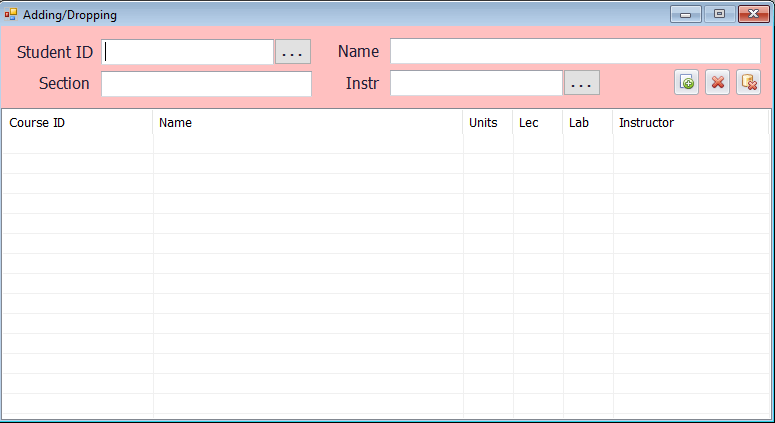
Select the student you want to add or drop. His/Her subjects enrolled will automatically be showed in the list. To drop a subject, select the subject from the list and hit the delete button. To add a subject, press the add button and a popup will open. Select and double click the subject you want to add to the list of subjects enrolled to the student. To drop all the subjects of the student, press the drop all subject button and hit yes on the confirmation.
- Adding Grades
To add grade of the student, you can navigate to homescreen->transactions->grades->internal data and the internal data window will open.

Select the student and his enrolled subjects will be automatically loaded in the list. From the list, select the subject you want to add grade and press the edit button. The code, units will automatically filled with the required data. Enter the grade in the Final Grade Textbox and the remarks will automatically be filled the filled. After adding the grade, press the save button to save.
You can also use the homescreen->transaction->grades,import/export to export excel format for instructors to fill-up the grades and later be imported to the system.
- Maintenance
To improve the performance of the system, maintenance feature is imposed in homescreen->tools->administrative tools.
You can choose to backup or restore and optimized the database.