 This is the part 7 of our Visual Basic 6 tutorial and this time we’re going to learn how to print a record from database.
The previous tutorials that we have learned are the following:
1. How to connect Visual Basic into MS Access.
2. How to insert a record in MS Access.
3. How to update the record in the database.
4. How to delete a record in the database.
5. How to populate Listview control from our database.
6. How to search a record from database.
Kindly download the previous file from our previous tutorial which is the searching a record from the database.
Let’s get started.
1. After you have downloaded the file kindly extract it to location of your computer you wanted to.
2. Open the extracted file and open the Project1.vbp.
3. The project contains three forms and one module and they are the following:
Forms
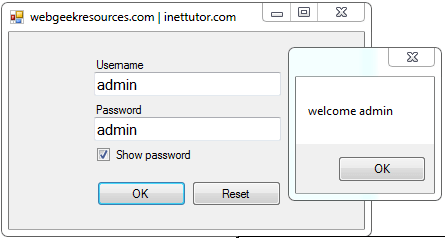
SplashFrm – this is the form that displays first when the application start. (You can omit it if you want and have nothing to do with the actual purpose of the program.)
InsertRecordFrm – this is the form in which we can insert, delete and update a record.
ListviewFrm – it is the form where the list of records from database displays in a listview control.
Module
DBConnect – this module contains the code that connects vb6 to ms access database.
4. We’re going to add now a Data Report to the project. To add a data report, go to Project in the menu bar and select Add Data Report and name it as rptList. Don’t forget to save the data report in the same directory where our vbp project resides.
5. The Data Report contains 5 sections (Report Header, Page Header, Detail, Page Footer and Report Footer). In the Detail section, kindly add 5 RptTextBox control. Take note that the TextBox control is for the forms while RptTextBox is for reports.
6. RptTextBox control has a DataField Property. The value for this property must be the same in the value of the field in the database, so kindly enter the corresponding value:
Text1 set the DataField into ID
Text2 set the DataField into studentName
Text3 set the DataField into studentAge
Text4 set the DataField into studentContact
Text5 set the DataField into studentAddress
The report should look like:
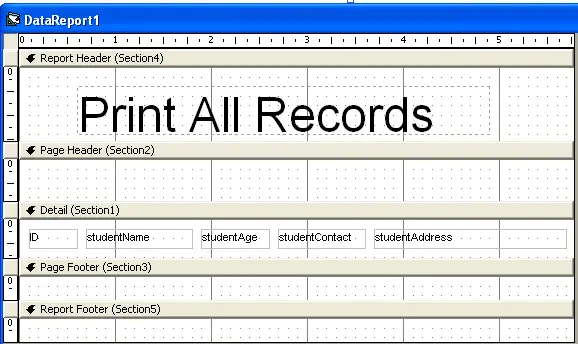
You are free to design your own report.
7. Open ListviewFrm and add a command button, name the button into cmdPrintAll with a caption of Print All.
8. Then double click the button and add the following codes:
If rs.State = adStateOpen Then rs.Close

    sql = " SELECT tblStudent.ID, tblStudent.studentName, tblStudent.studentAge, tblStudent.studentContact, tblStudent.studentAddress" & _
" From tblStudent" & _
" GROUP BY tblStudent.ID, tblStudent.studentName, tblStudent.studentAge, tblStudent.studentContact, tblStudent.studentAddress" & _
" ORDER BY tblStudent.ID;"

rs.Open sql, conn

If rs.RecordCount > 0 Then
Set rptList.DataSource = rs
    rptList.Show
Else
MsgBox "No record(s) to print", vbInformation, ""
End If
9. Don’t forget to save the project. We are all set to test the project, kindly press F5 to run the system.
Next tutorial is on how to backup the database.
Thank you for visiting the site.
The source code for this tutorial is also available for download.